

Downstairs Bathroom – Part 2
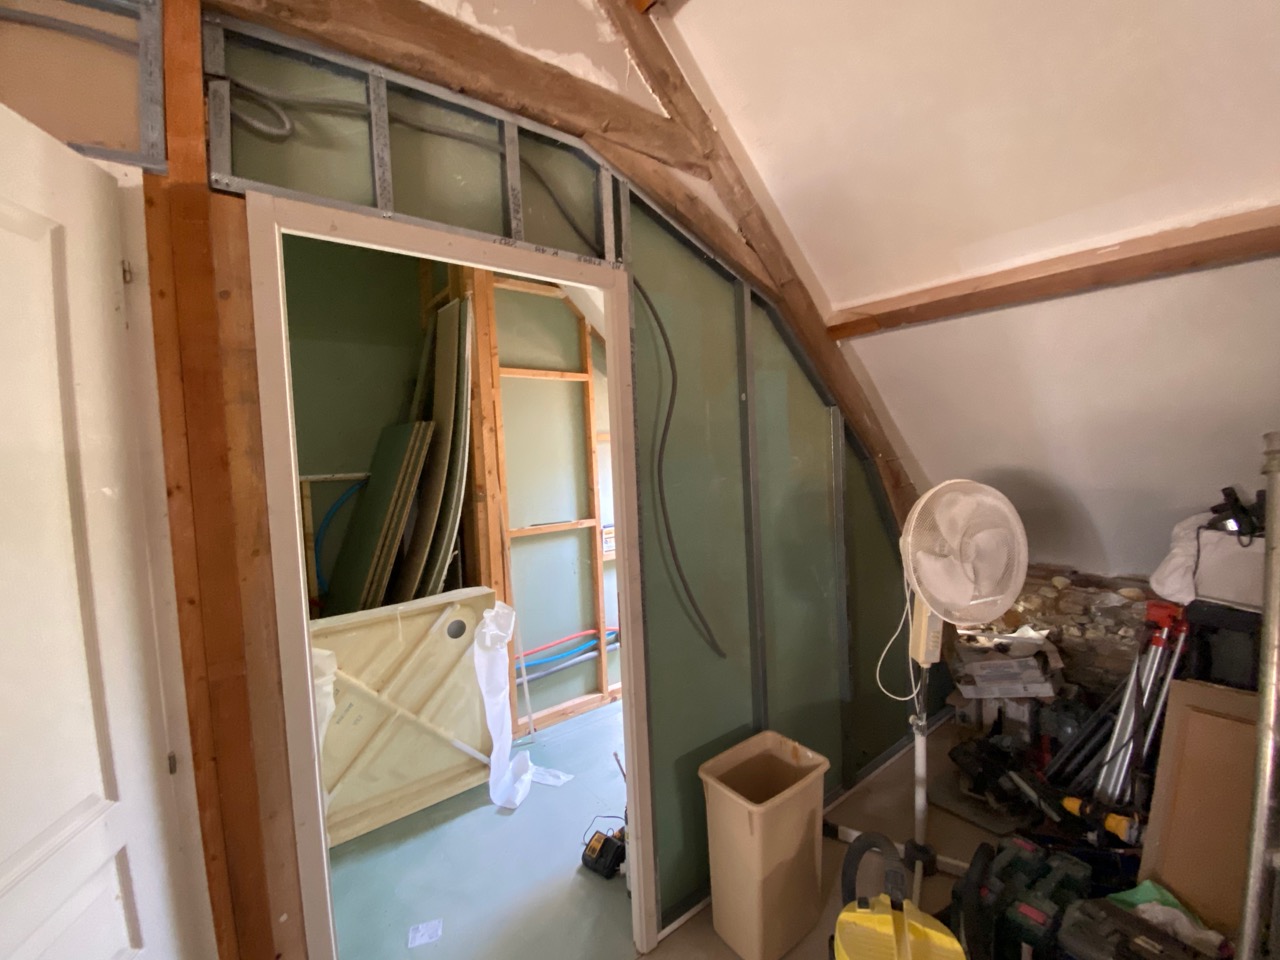
With the original walls being so uneven (over 2 inches difference top to bottom) we installed plasterboard on partition framing to get good flat surfaces for the shower, enabling easy tiling.

Once fitted the plumbing for the tray and mixer taps was planned and installed.

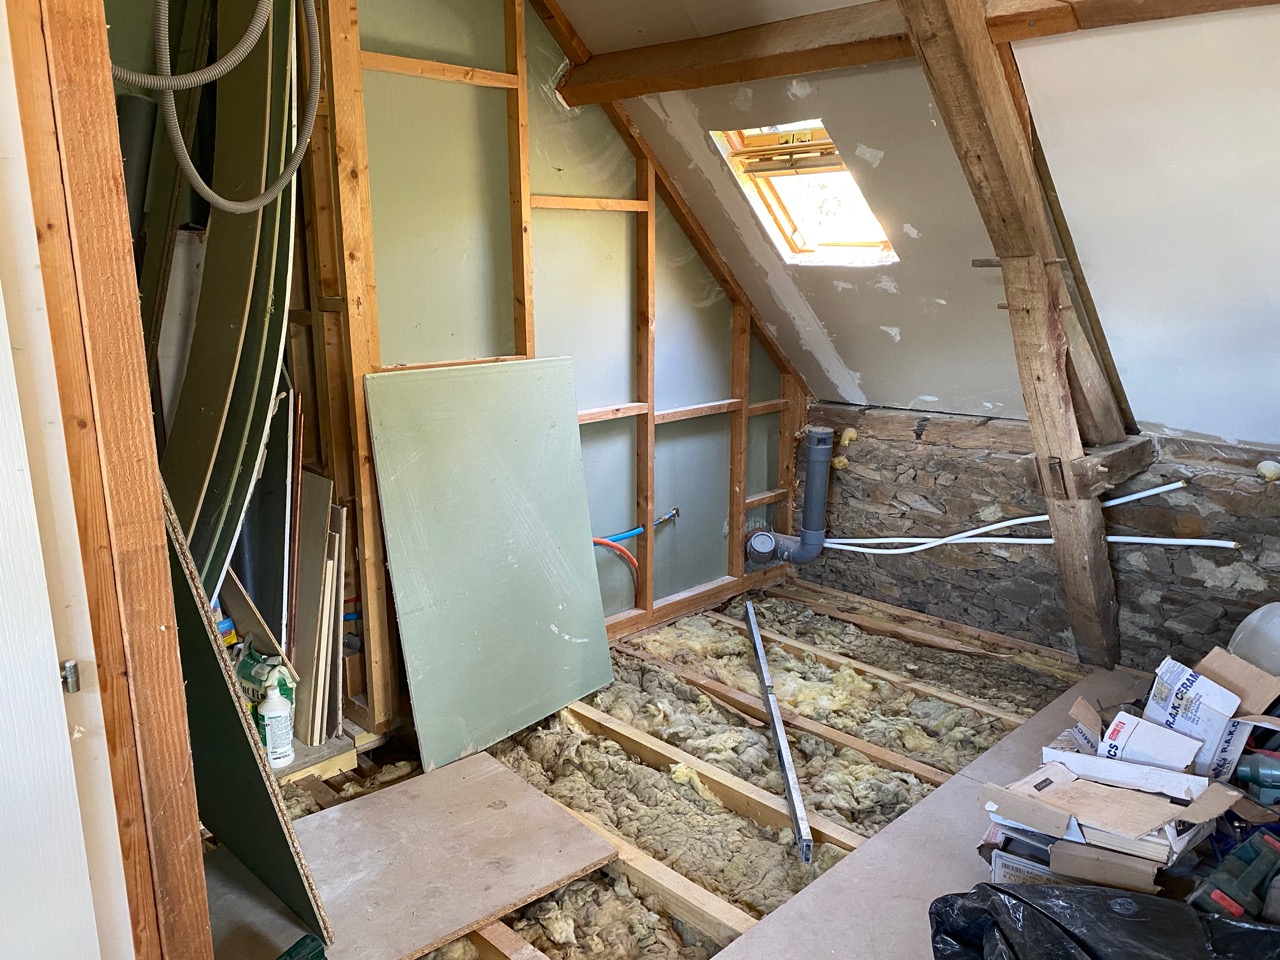
A strange thing then happened! Once we had the shower all partitioned I realised that we had lots of room for a window (in fact there had been a window in this room at some point) so I cut out the profile of a proposed window:

Then with help from Alan (master carpenter and all round good egg) and Ben (neighbour and fountain of knowledge) we started the 6 day long process of installing a new window.
With Ben’s help (and his workshop) Alan put the finishing touches to the oak frame (from a local woodyard, cut to order at an amazingly low price!):

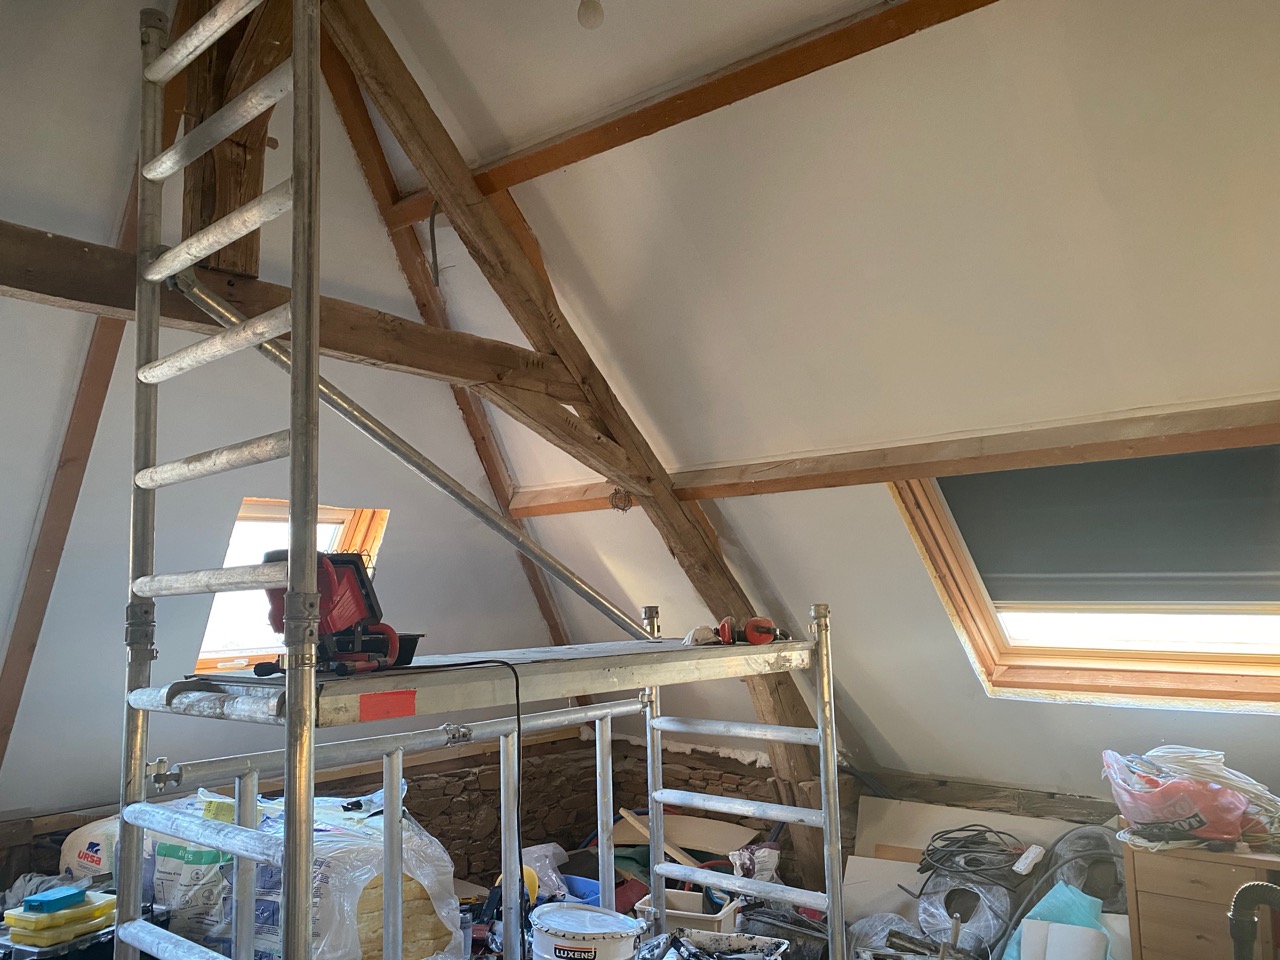
The under Ben’s supervision we installed 3 20mm steel rods and joined then with wooden beams, bolted tightly each side and supported with braces before knocking a hole for the lintils.

the hole was quickly filled with two 1 metre long, 26cm wide, 13 cm high oak beams, with concrete packing:

The 2 days later we started exposing the window area, firstly on the outside:

As with many projects there are hurdles to overcome, on this project it was a couple of very large rocks. The rock on the right we removed and left the very large rock on the left for later!

The window frame was installed and the wall rebuilt either side:

The next day we then had to deal with the large remaining rock/ The angle grinder wasn’t big enough so we drilled 7 holes in a line through the rock and with the SDS plus chisel hammered it until it split, with much relief, down the holes:

The window area was now exposed and ready for finishing off.