
From holiday home to real home!
The end of 2020 brings exciting changes as we start our move to France! More to follow.
Restoring a 200 year old French Farmhouse – Year 15 of ?

The end of 2020 brings exciting changes as we start our move to France! More to follow.
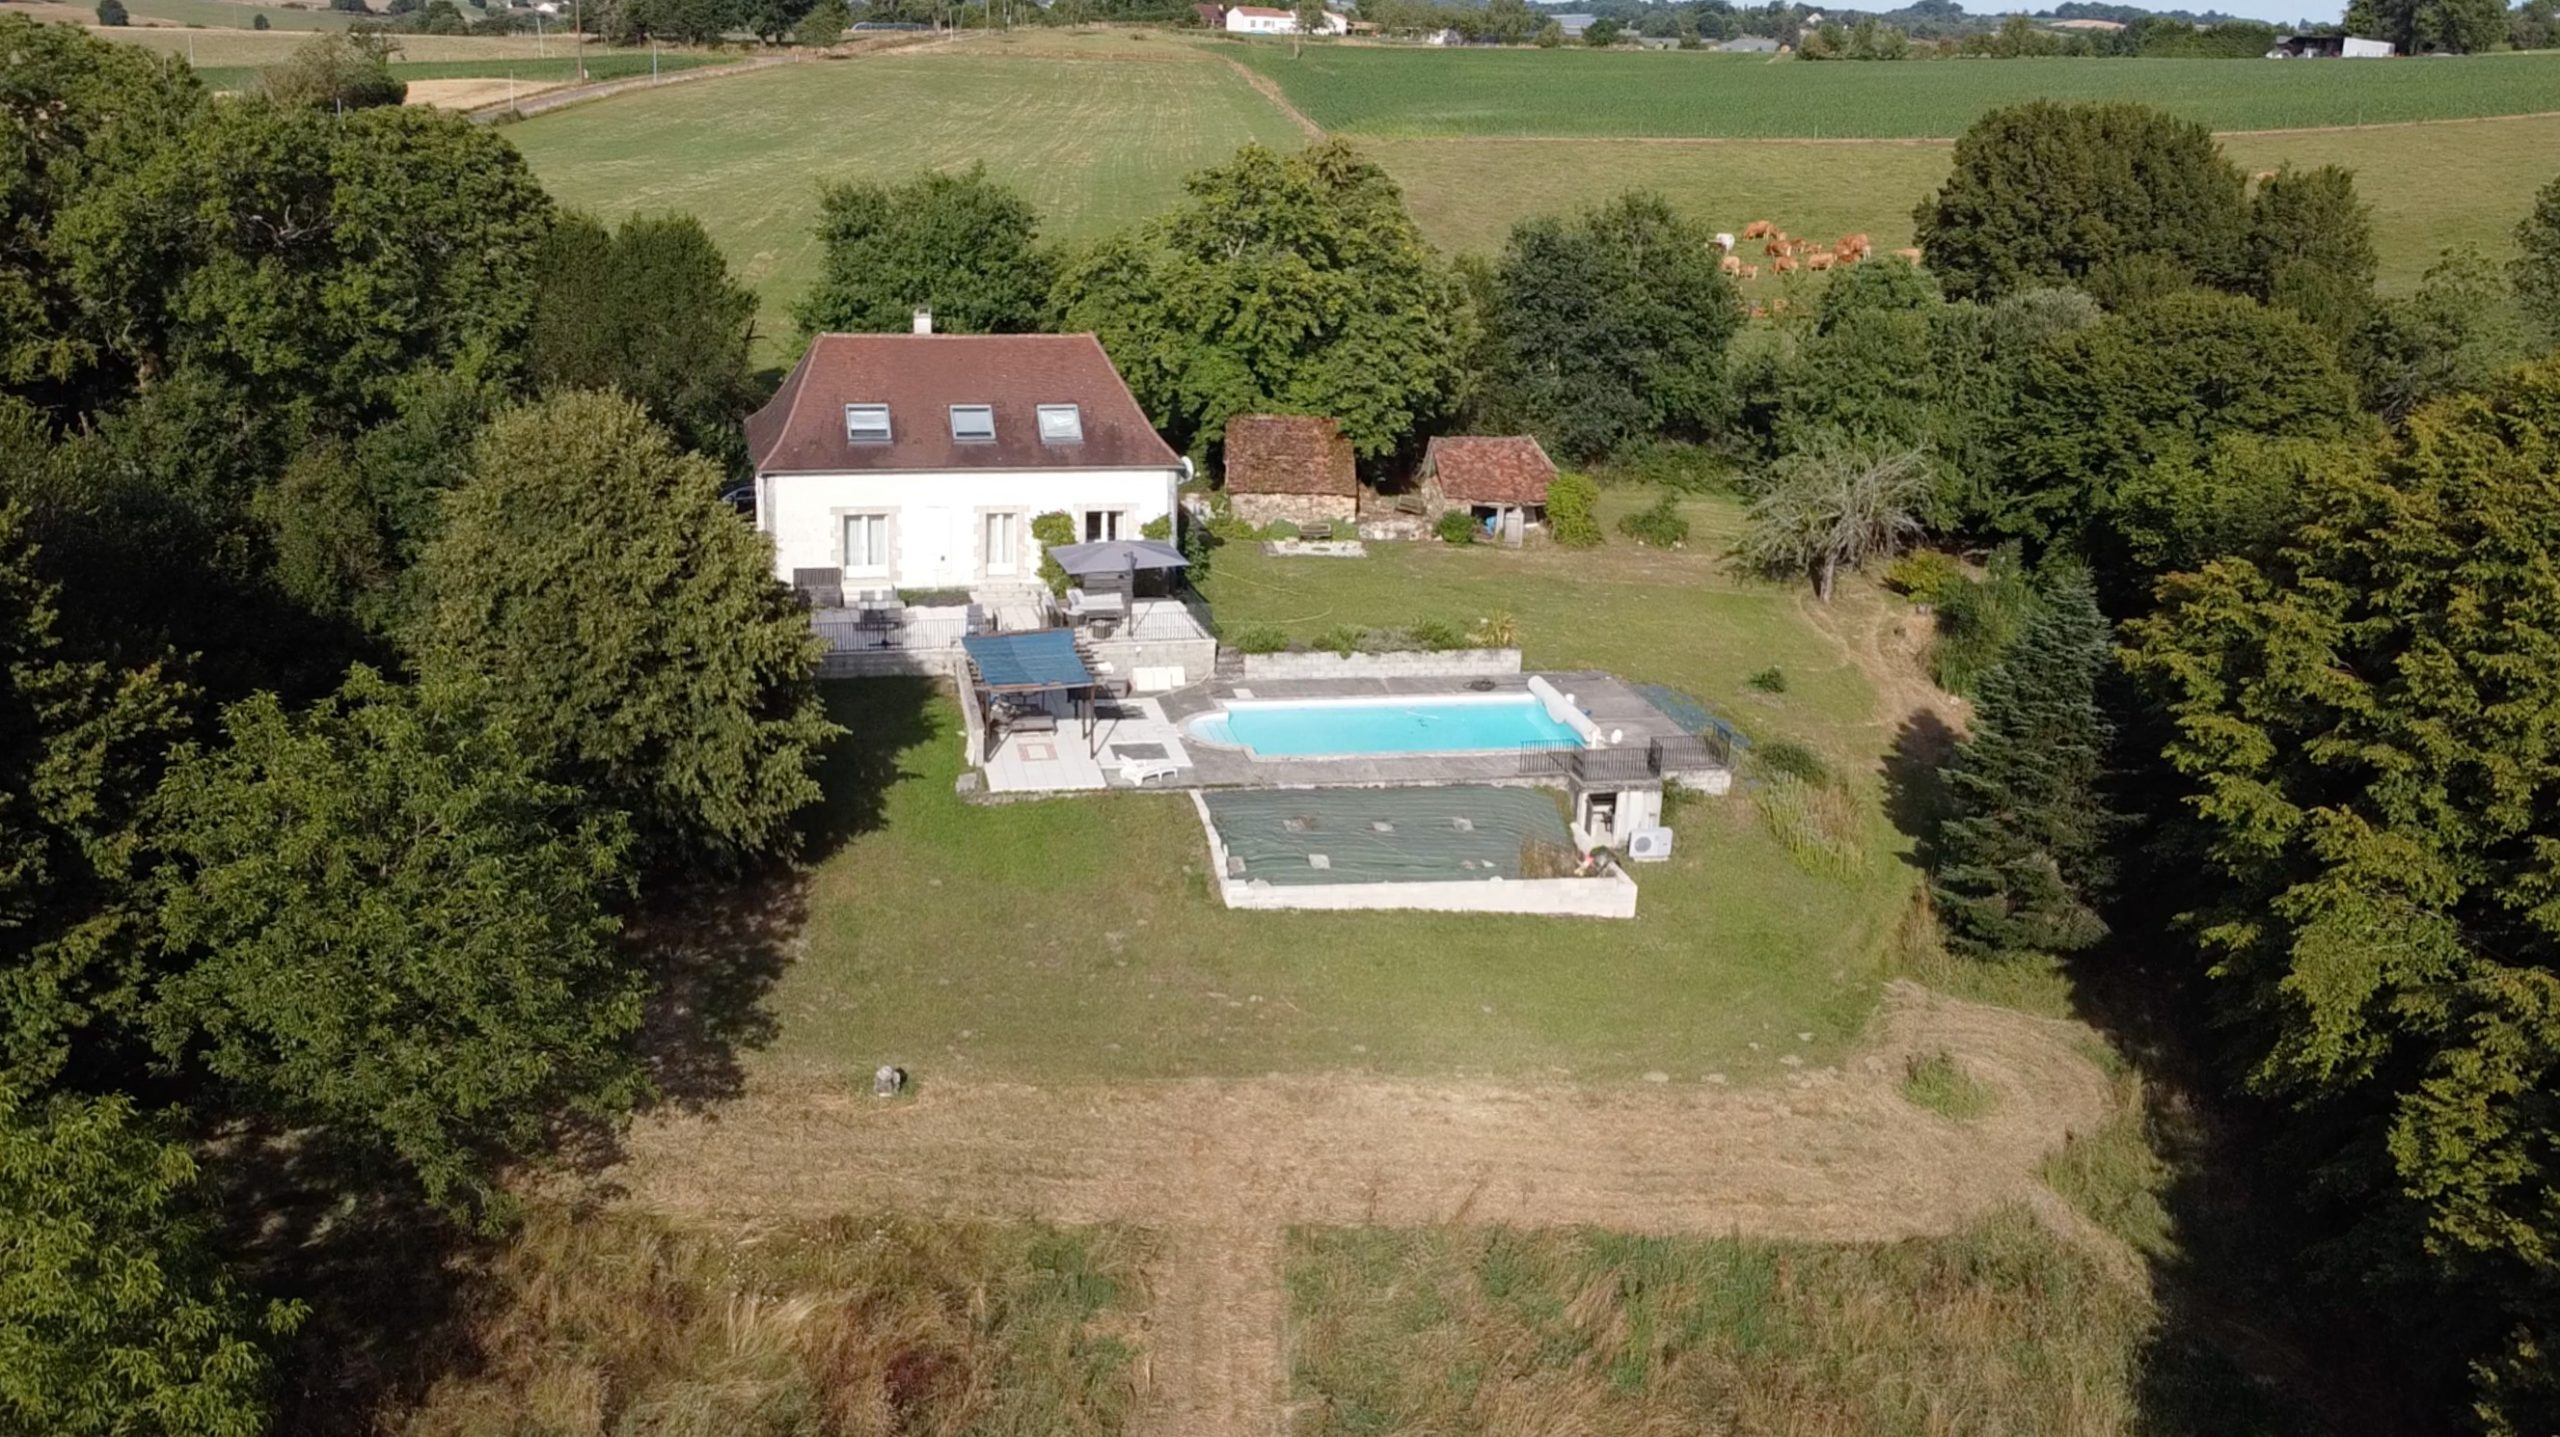
Sometimes seeing your place from the air is breathtaking!
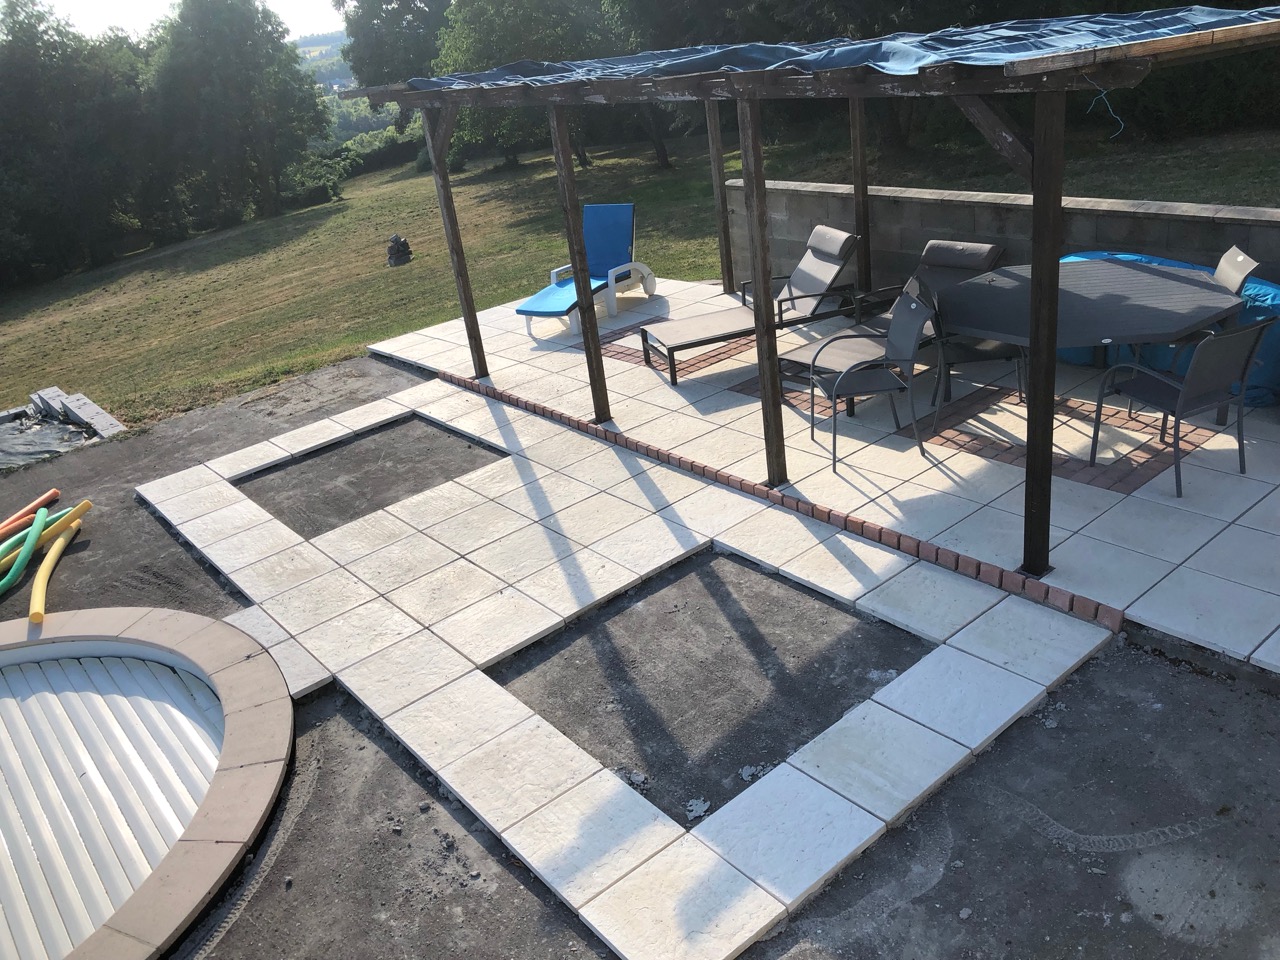
This is a mammoth task that was started last year with the area under the pergola being tiled and the start of the tiles to the pool. This summer we … Read More
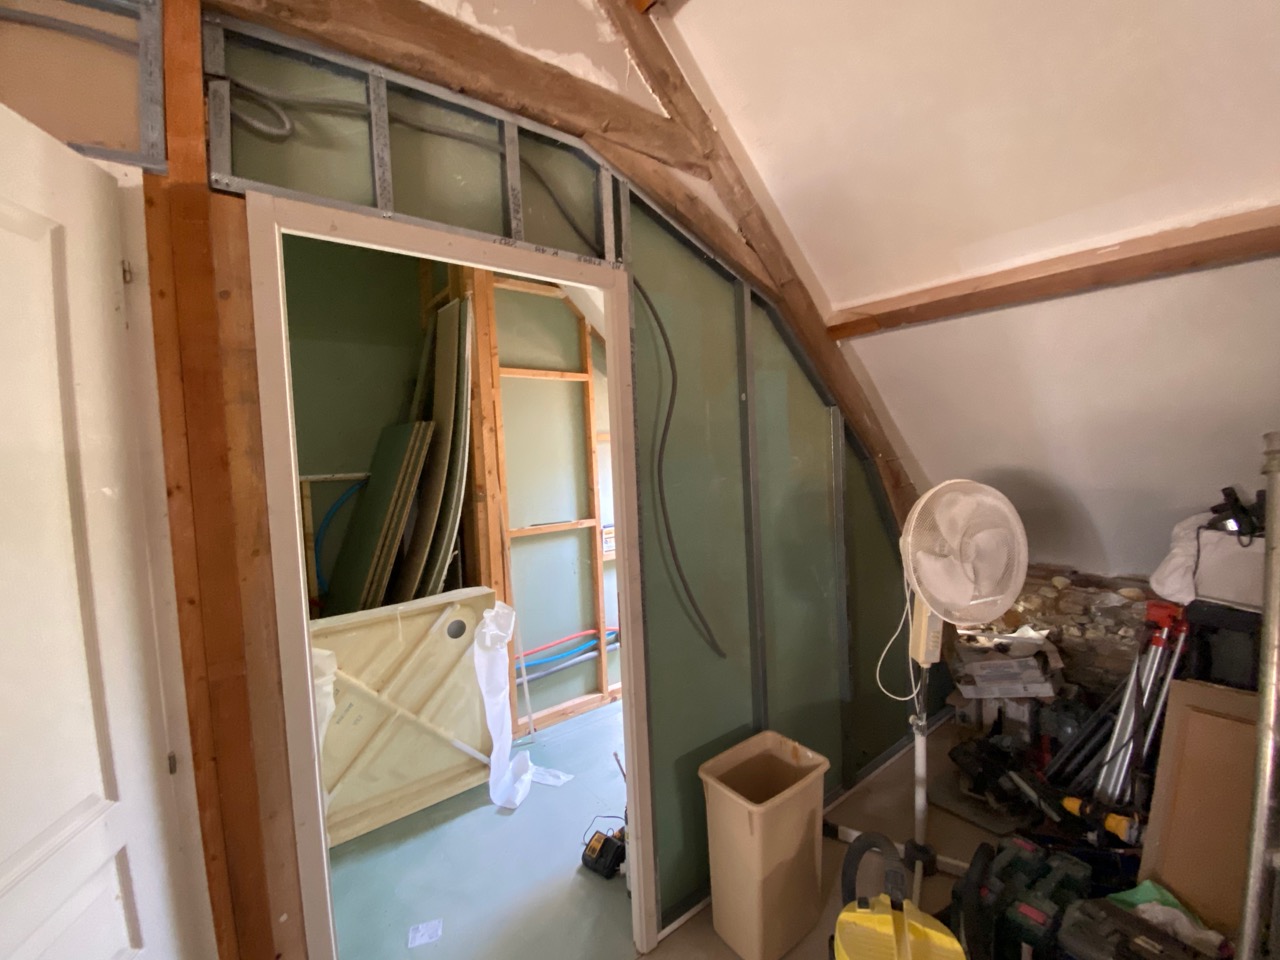
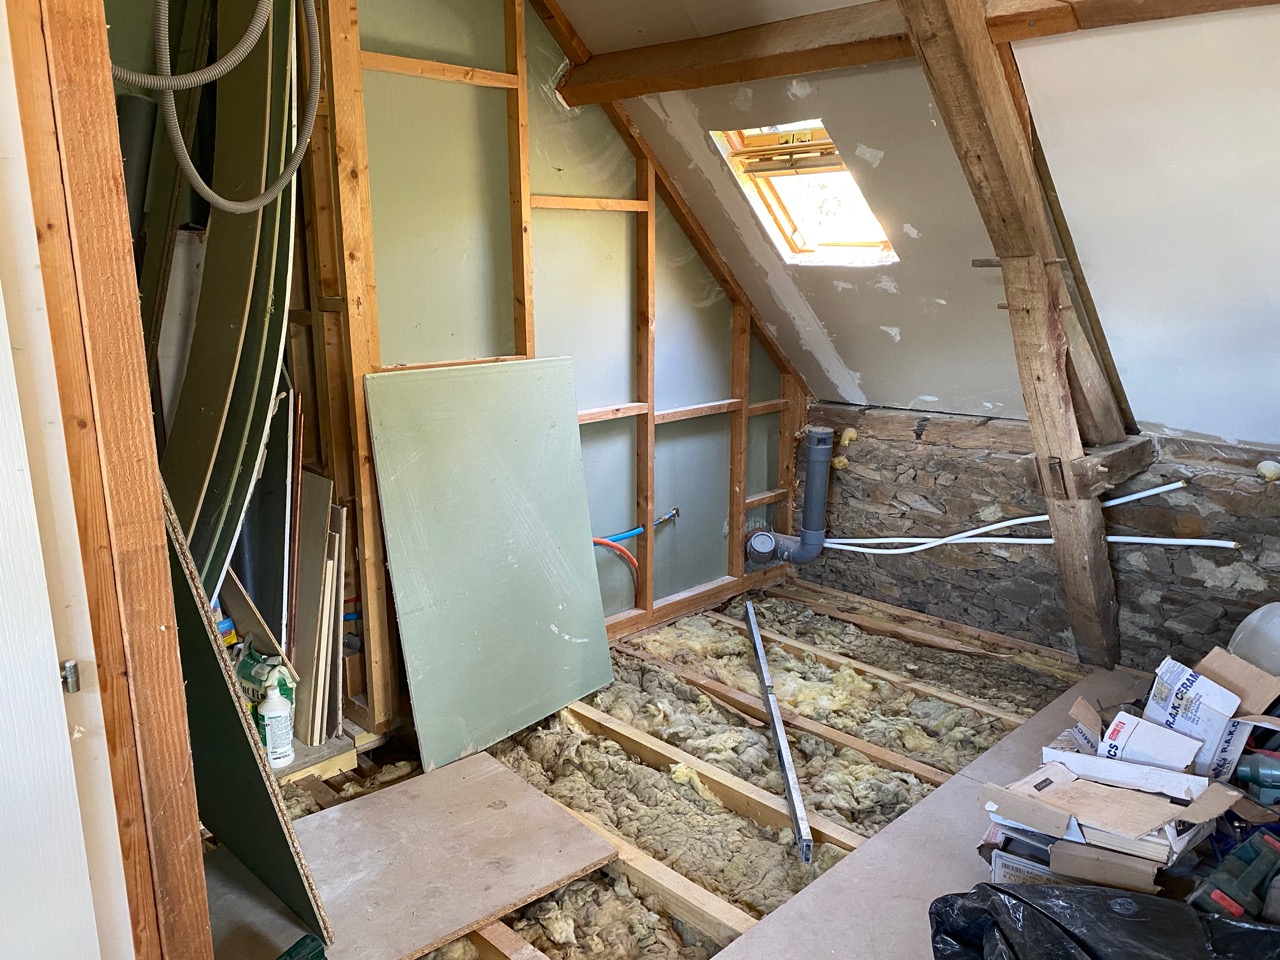
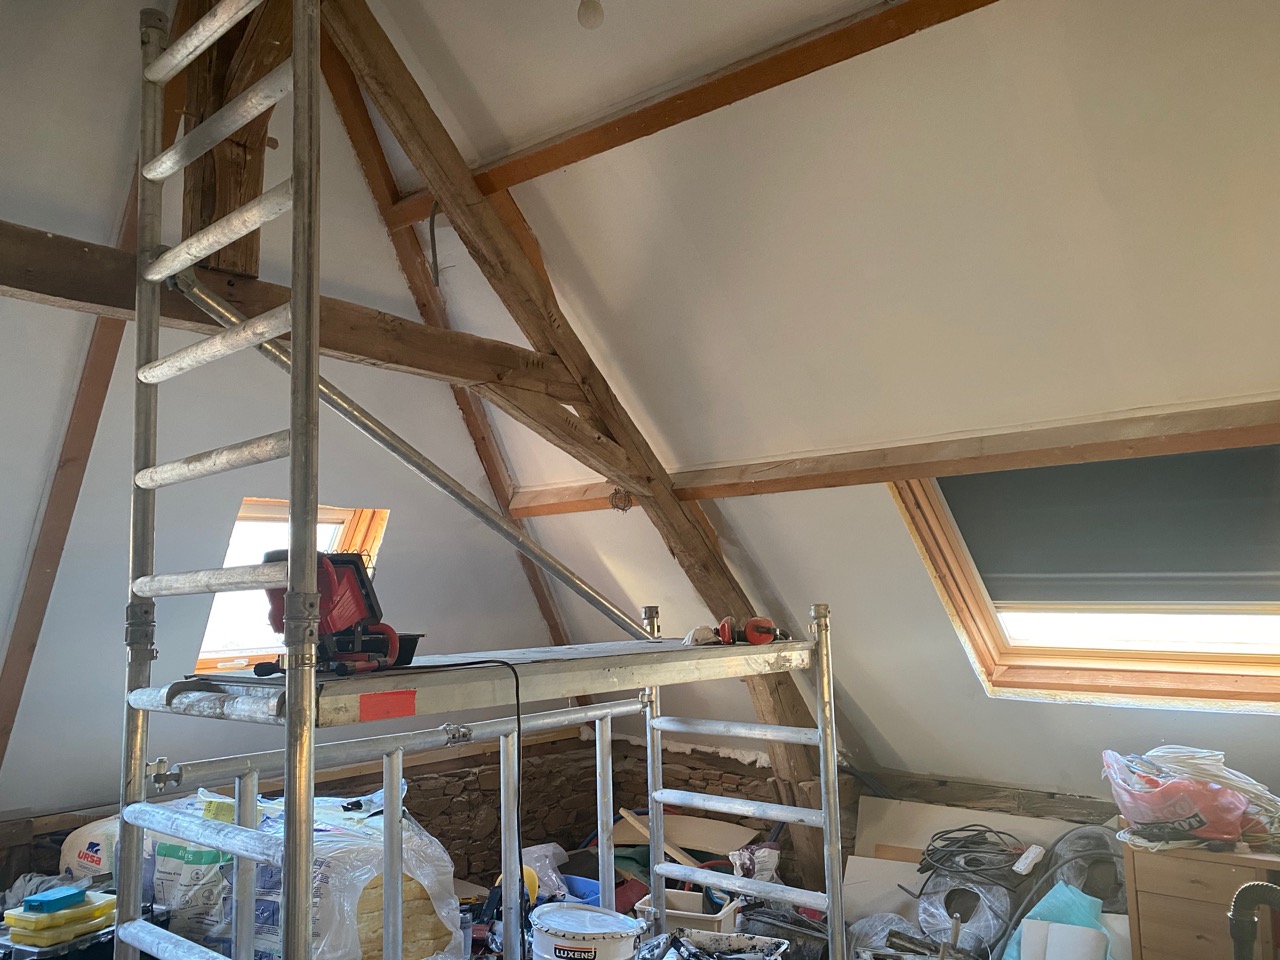
The Plan: Plasterboard the ceiling Level and install new green chipboard to the en-suite Build the wall with door for the en-suite Install the plumbing and electrics. Level and replace … Read More
The Plan: Plasterboard the ceiling Level and install new green chipboard to the en-suite Build the wall with door for the en-suite Install the plumbing and electrics. Level and replace … Read More
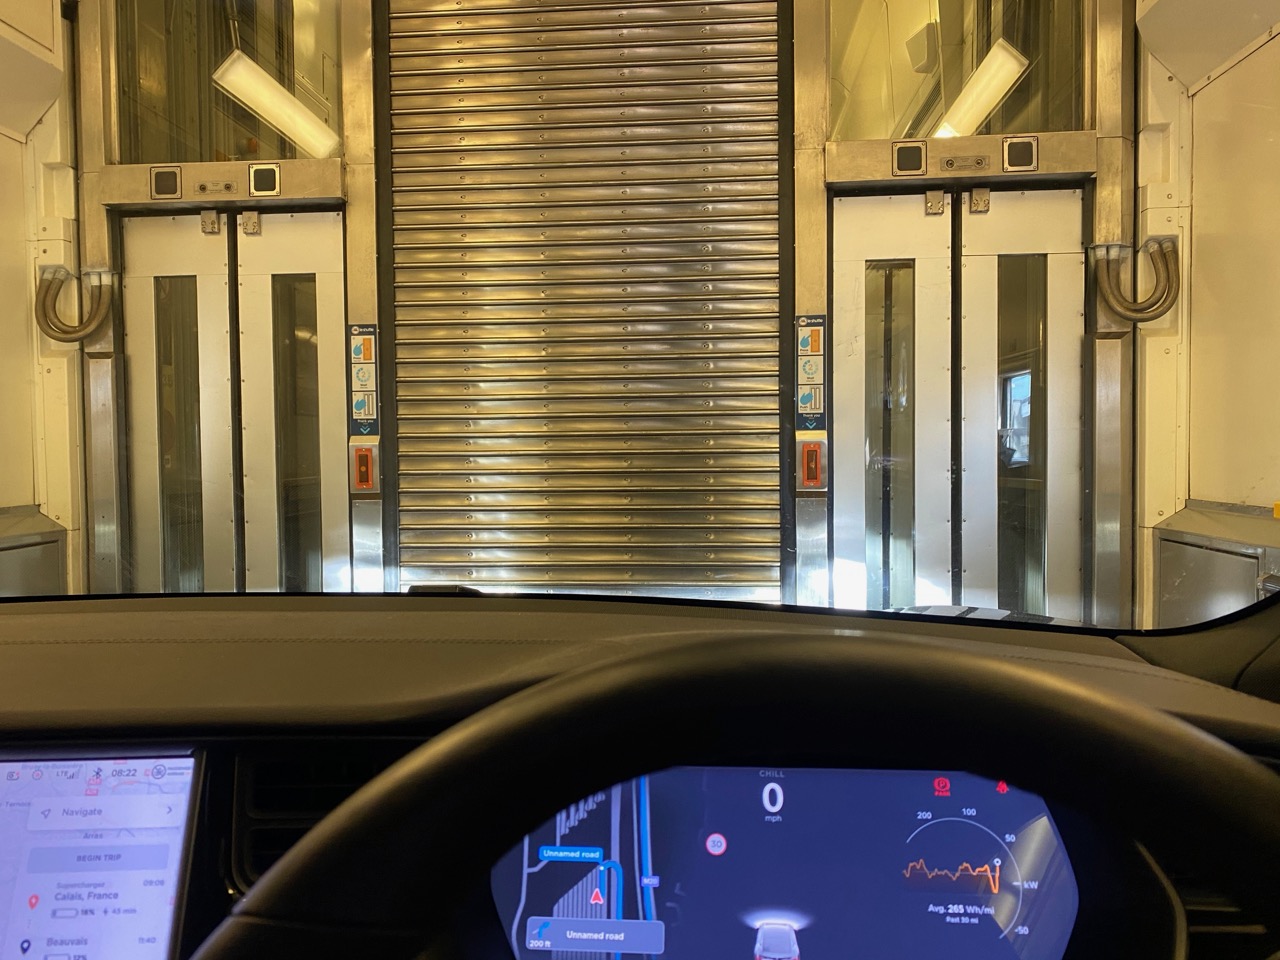
During this trip my wife had to work for a couple of weeks and could do this remotely with our now rapid 3 mbps broadband connection!! The downside of this … Read More
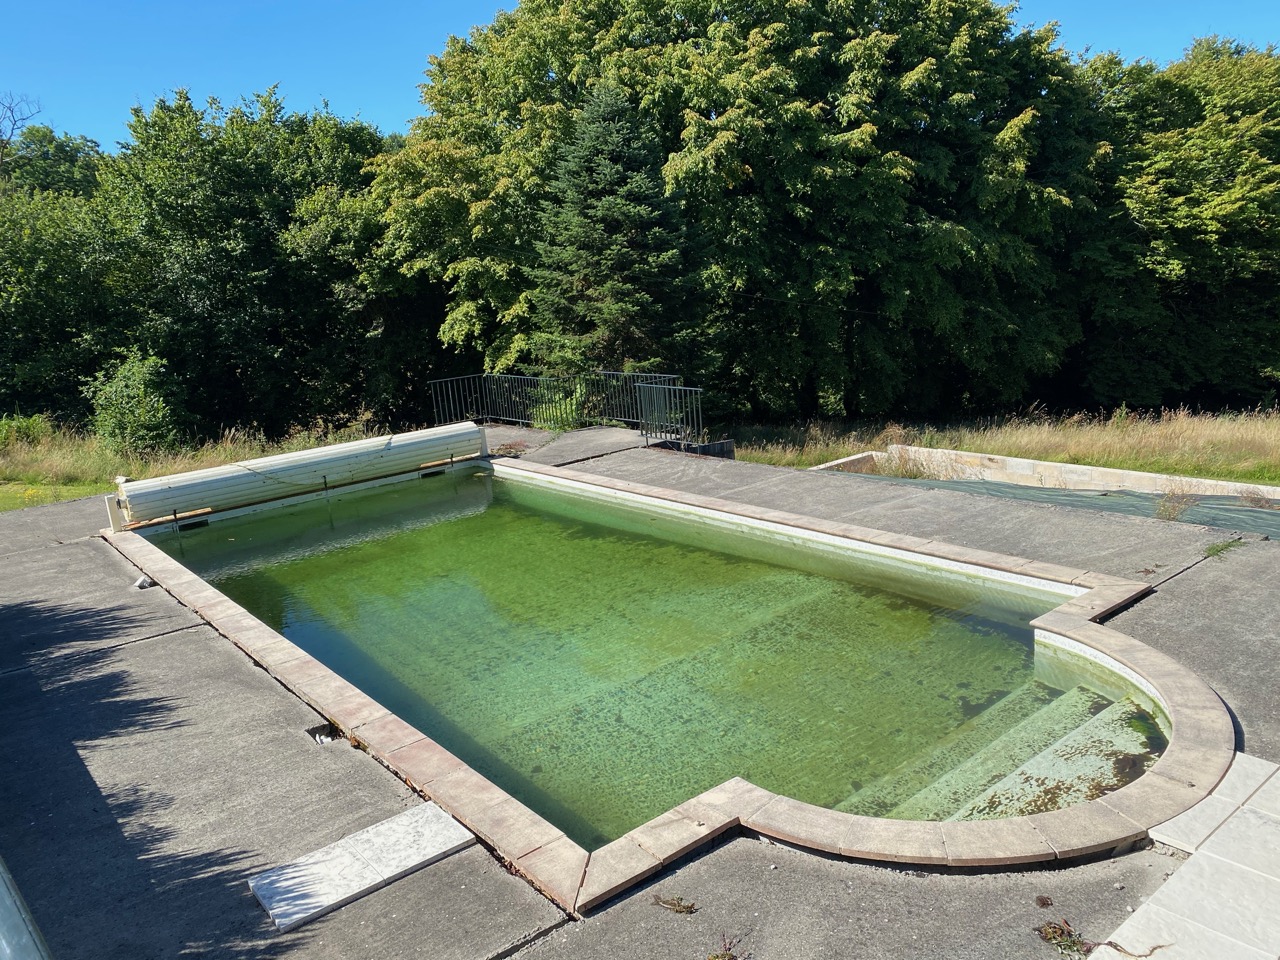
With lockdown we didnt get to open the pool until early July, normally this happens in April/May. We were expecting to see something a lot worse than actually appeared when … Read More
2020 was going to be the year I finished the house (at least attempt to). Well Covid-19 put an end to that idea. But what is important is that we … Read More
The Plan: Plasterboard the ceiling Level and install new green chipboard to the en-suite Build the wall with door for the en-suite Install the plumbing and electrics. Level and replace … Read More
This is a mammoth task! We made a serious start on it this summer with the area under the pergola being done first. This whole area is so large that … Read More


